In this tutorial, you will learn how to install reNgine on Ubuntu 20.04|Ubuntu 18.04. reNgine is an automated reconnaissance framework meant information gathering during penetration testing of web applications. It has pipeline of highly configurable reconnaissance steps. With the integration of various open source information gathering tools, reNgine, uses all or some of them depending upon the configuration and gathers the results at a single place.
As a reconnaissance framework, below are the reNgine capabilities;
- Subdomain Discovery: Discovers all the subdomains using tools like sublist3r, subfinder, amass, asset finder, etc.
- Port Scan: Use to identify the open ports on the subdomains that have been discovered. Currently reNgine uses naabu to check for open ports. We have plans to use masscan in the future.
- Directory and File Search: Uses
dirsearchto discover the directories and files. - Fetch all Endpoints: Fetches all the urls for each subdomains from various sources like Open Threat Exchange, Wayback machine, common crawl etc. reNgine uses
gau,hakrawlerto fetch the endpoints. - Vulnerability Scan (Beta): reNgine uses
nucleito perform the Vulnerability Scans on the targets.
Installing reNgine on Ubuntu 20.04|18.04
Prerequisites
There are a number of tools that reNgine requires to be installed prior to its installation.
Install Docker Engine on Ubuntu 20.04|Ubuntu 18.04
Using Docker to run reNgine is one of the easiest methods. As such, you need to first install Docker. Follow the link below to install Docker on Ubuntu 20.04|Ubuntu 18.04.
Install Docker CE on Ubuntu 20.04Install Docker Compose on Ubuntu 20.04|Ubuntu 18.04
- Download the latest stable version of
docker-compose
sudo curl -L "https://github.com/docker/compose/releases/download/1.27.4/docker-compose-$(uname -s)-$(uname -m)" -o /usr/local/bin/docker-compose
- Apply executable permission
sudo chmod +x /usr/local/bin/docker-compose
- Create a symbolic link
sudo ln -s /usr/local/bin/docker-compose /usr/bin/docker-compose
- Verify your installation by running
docker-compose --version
Install Make and Other Build tools on Ubuntu 20.04|Ubuntu 18.04
Run the command below to install make and build-essential on Ubuntu 20.04|Ubuntu 18.04
apt install make build-essentialInstalling reNgine on Ubuntu
Once your system has met all the prerequisites above, then you are good to proceed to install reNgine.
- Clone the reNgine Github repository
git clone https://github.com/yogeshojha/rengine - Navigate to reNgine directory, once the clone is done;
cd rengine- Update reNgine environment variables required for setup;
vim .env#
# General
#
COMPOSE_PROJECT_NAME=rengine
#
# SSL specific configuration
#
AUTHORITY_NAME=reNgine
AUTHORITY_PASSWORD=changeme
COMPANY=Kifarunix-demo
DOMAIN_NAME=recon.kifarunix-demo.com
COUNTRY_CODE=US
STATE=Georgia
CITY=Atlanta- NOTE: You MUST be inside the rengine while running the make commands.
- Generating reNgine SSL Certificates
make certs...
Creating new certificate for recon.kifarunix-demo.com
Generating RSA private key, 4096 bit long modulus (2 primes)
.......++++
......................................................++++
e is 65537 (0x010001)
Signature ok
subject=C = US, ST = Georgia, L = Atlanta, O = Kifarunix-demo, CN = recon.kifarunix-demo.com
Getting CA Private Key
total 24
-rw-r--r-- 1 root root 2041 Jan 10 06:00 ca.crt
-rw------- 1 root root 3243 Jan 10 06:00 ca.key
-rw-r--r-- 1 root root 3 Jan 10 06:00 ca.srl
-rw-r--r-- 1 root root 1830 Jan 10 06:00 rengine.pem
-rw-r--r-- 1 root root 2041 Jan 10 06:00 rengine_chain.pem
-rw------- 1 root root 3243 Jan 10 06:00 rengine_rsa.key- You can now build reNgine framework. The process might take sometime though!
make buildRunning reNgine on Ubuntu 20.04|Ubuntu 18.04
Once reNgine build is done successfully, you can now run reNgine by executing the command below from within the rengine git directory;
make upBefore you can run the command above, ensure no service is using the default web server port 80.
Once reNgine is up, you can list its running container;
docker psCONTAINER ID IMAGE COMMAND CREATED STATUS PORTS NAMES
8ed371f18774 nginx:alpine "/docker-entrypoint.…" 3 minutes ago Up 3 minutes 0.0.0.0:80->80/tcp, 0.0.0.0:443->443/tcp rengine_proxy_1
4e296aa185b7 rengine_celery "/app/docker-entrypo…" 3 minutes ago Up 3 minutes rengine_celery_1
62822b042cce docker.pkg.github.com/yogeshojha/rengine/rengine:latest "/app/docker-entrypo…" 3 minutes ago Up 3 minutes rengine_web_1
4021a0151f08 rengine_celery-beat "/app/docker-entrypo…" 3 minutes ago Up 3 minutes rengine_celery-beat_1
7695fa3f292c postgres:12.3-alpine "docker-entrypoint.s…" 5 minutes ago Up 5 minutes 5432/tcp rengine_db_1
b2eaefa78f71 redis:alpine "docker-entrypoint.s…" 5 minutes ago Up 5 minutes 6379/tcp rengine_redis_1To restart reNgine use the command
make restart
You can stop the reNgine by running the command.
make stop
Accessing reNgine from Browser
Note that the web server container listening on port 80 is mapped to listen on the host port 443 (0.0.0.0:80->80/tcp, 0.0.0.0:443->443/tcp). This means that you can access reNgine from browser using the URL, https://<DOMAIN_NAME set on .env file> or https://your_vps_ip_address.
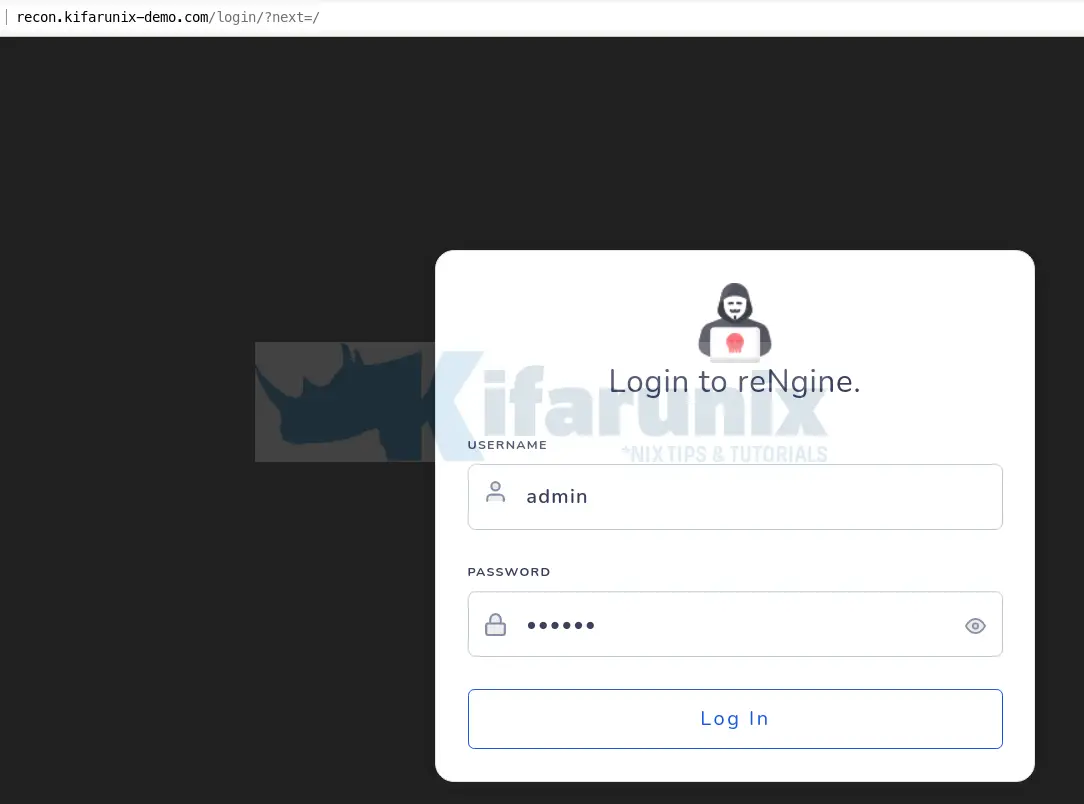
Accept the use of self-signed SSL on browser and proceed to reNgine login page.
Create reNgine User Account
In order to be able to login to reNgine, you need to create a username and password. You can use make command (run within the reNgine git repo directory) as follows;
make usernameYou will be prompted to enter the username (root by default), the email address and the user password.

Once you have created a user account, you can use it to login to reNgine from the browser.
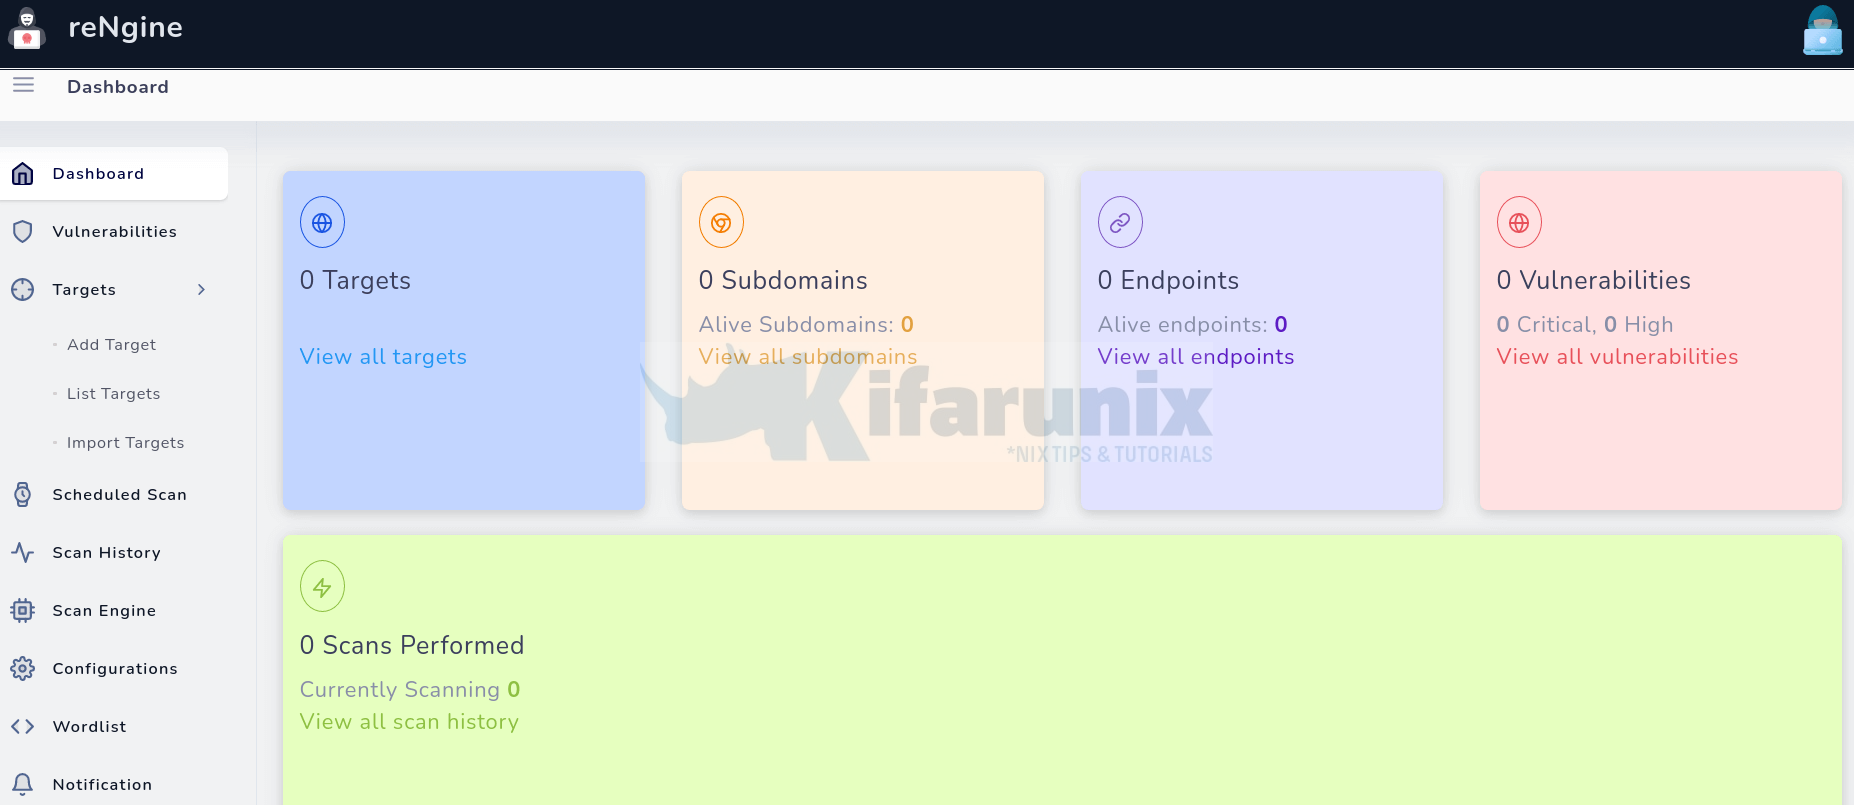
reNgine dashboard.

And there you go. You can now add assets to scan and schedule your scanning.
That marks the end of our tutorial on how to install reNgine.
Reference
Related Tutorials
Install and Setup GVM 11 on Ubuntu 20.04

