In this tutorial, we are going to learn how to install OPNsense on VirtualBox. OPNsense is a FreeBSD-based open-source software that provides firewall and routing features that are available in expensive commercial firewalls. It is developed by Desico, a Company in Netherlands. OPNsense started as a fork of pfSense and m0n0wall and still retain similar aspects.
Table of Contents
Common OPNsense Features
Some of the common features offered by OPNsense include:
- Traffic Shaping
- Forward caching proxy
- Intrusion detection and Prevention
- Two-factor authentication
- VPN technologies ranging from modern SSL VPN’s to IPsec as well as legacy options such as L2TP and PPTP.
- Captive Portal
For a deeper insight into the features of OPNsense, read more on the features page.
Installing OPNsense on VirtualBox
To install OPNsense on VirtualBox, step through the procedure below.
Download OPNsense Installation file
- Navigate to the official OPNsense download’s page.
- Select the System architecture.
- Select the image type. I prefer to use DVD ISO file.
- Select the download mirror near me
- Click Download button to download the ISO file archive.
If you want to use the terminal to download the ISO file, just right click on the download button and copy the link.
You can then use wget or curl to download the ISO archive file;
OPNsense 23.1 is the current release version.
wget https://mirror.ams1.nl.leaseweb.net/opnsense/releases/23.1/OPNsense-23.1-OpenSSL-dvd-amd64.iso.bz2Extract the Installer
Extract the ISO file from the archive download;
tar xjf OPNsense-23.1-OpenSSL-dvd-amd64.iso.bz2Create OPNsense Virtual Machine on VirtualBox
- Launch VirtualBox manager
- Create a new VM with type BSD and version as FreeBSD(64-bit) with at least 1GB of RAM, 16G storage. (Rem this can change depending on your needs)
- Add two two NICs, bridge the first adapter, and set the second adapter as Host-Only
- On Storage settings, attach the OPNsense ISO as IDE controller.

Install OPNsense on VirtualBox
Save the settings and click Start to start the VM and begin the installation.
Once the OPNsense VM starts, you should see the screen below.
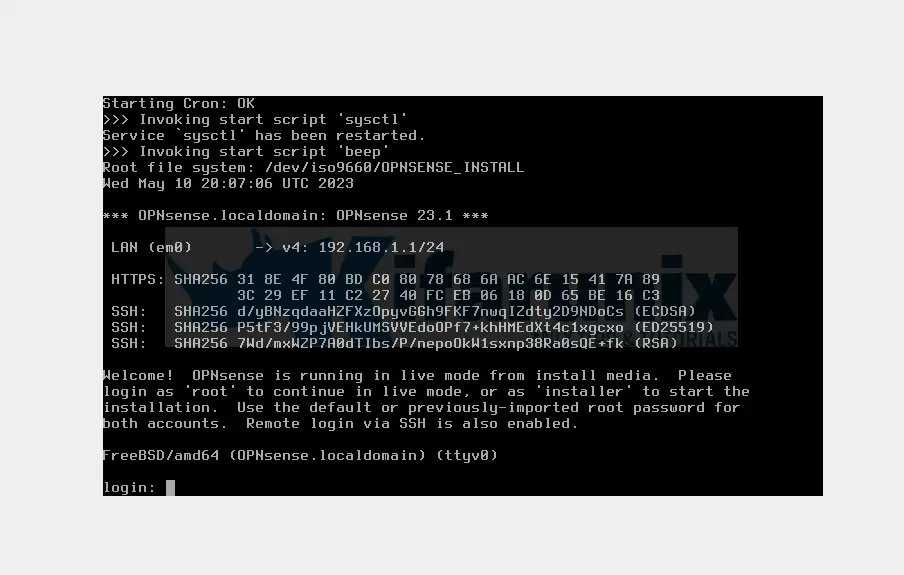
To install OPNsense, login as user installer with the default password opnsense.
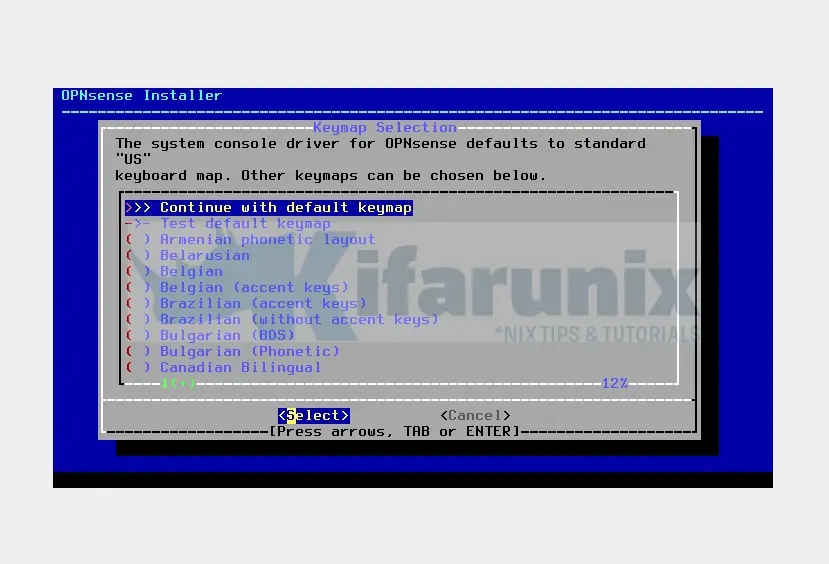
When you login, select your keymap and proceed.
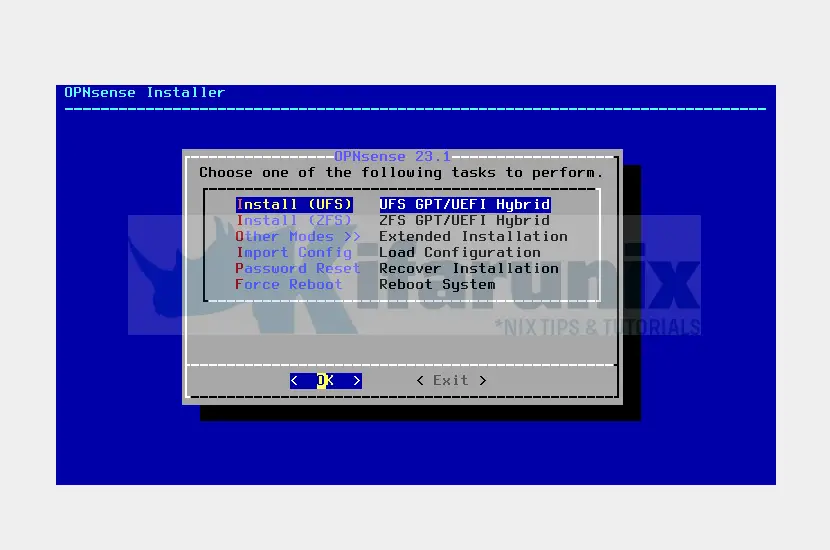
Next, install OPNsense UFS;
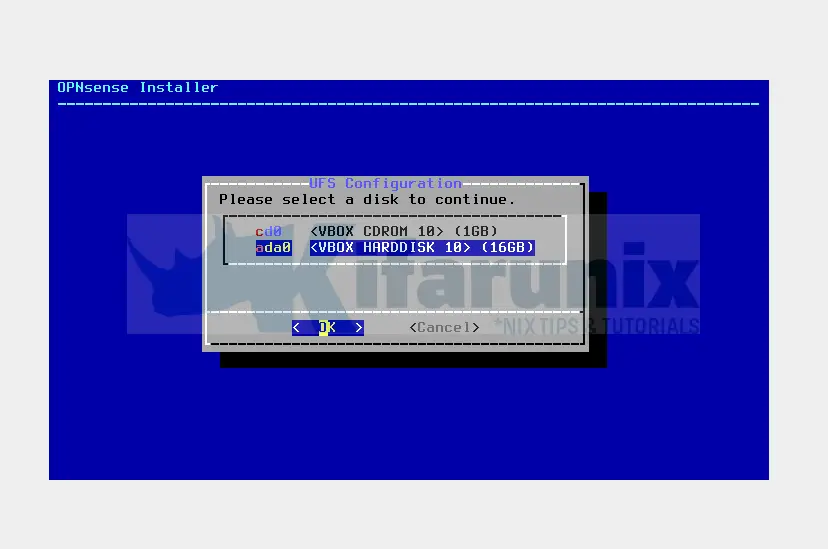
Select the installation disk and confirm selection to proceed with installation.
The installation will now proceed and it should complete in a short while.
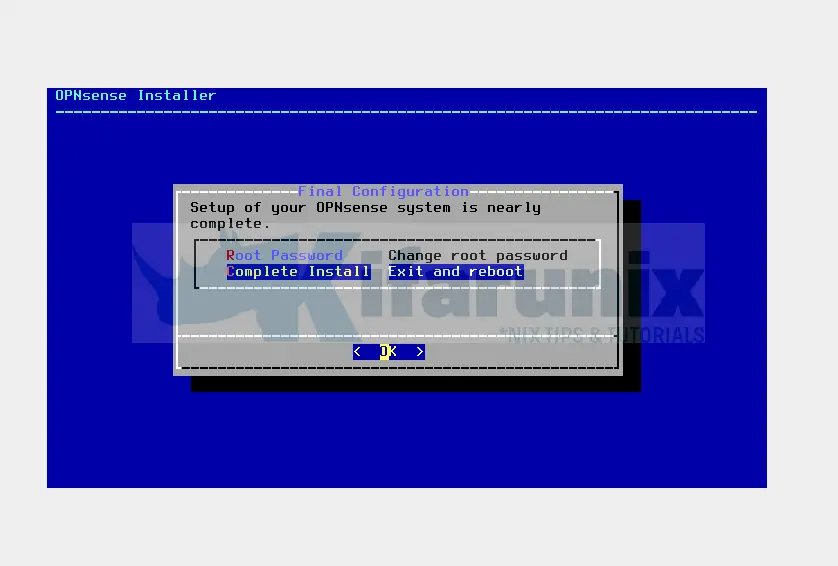
Press Ok to complete the installation.
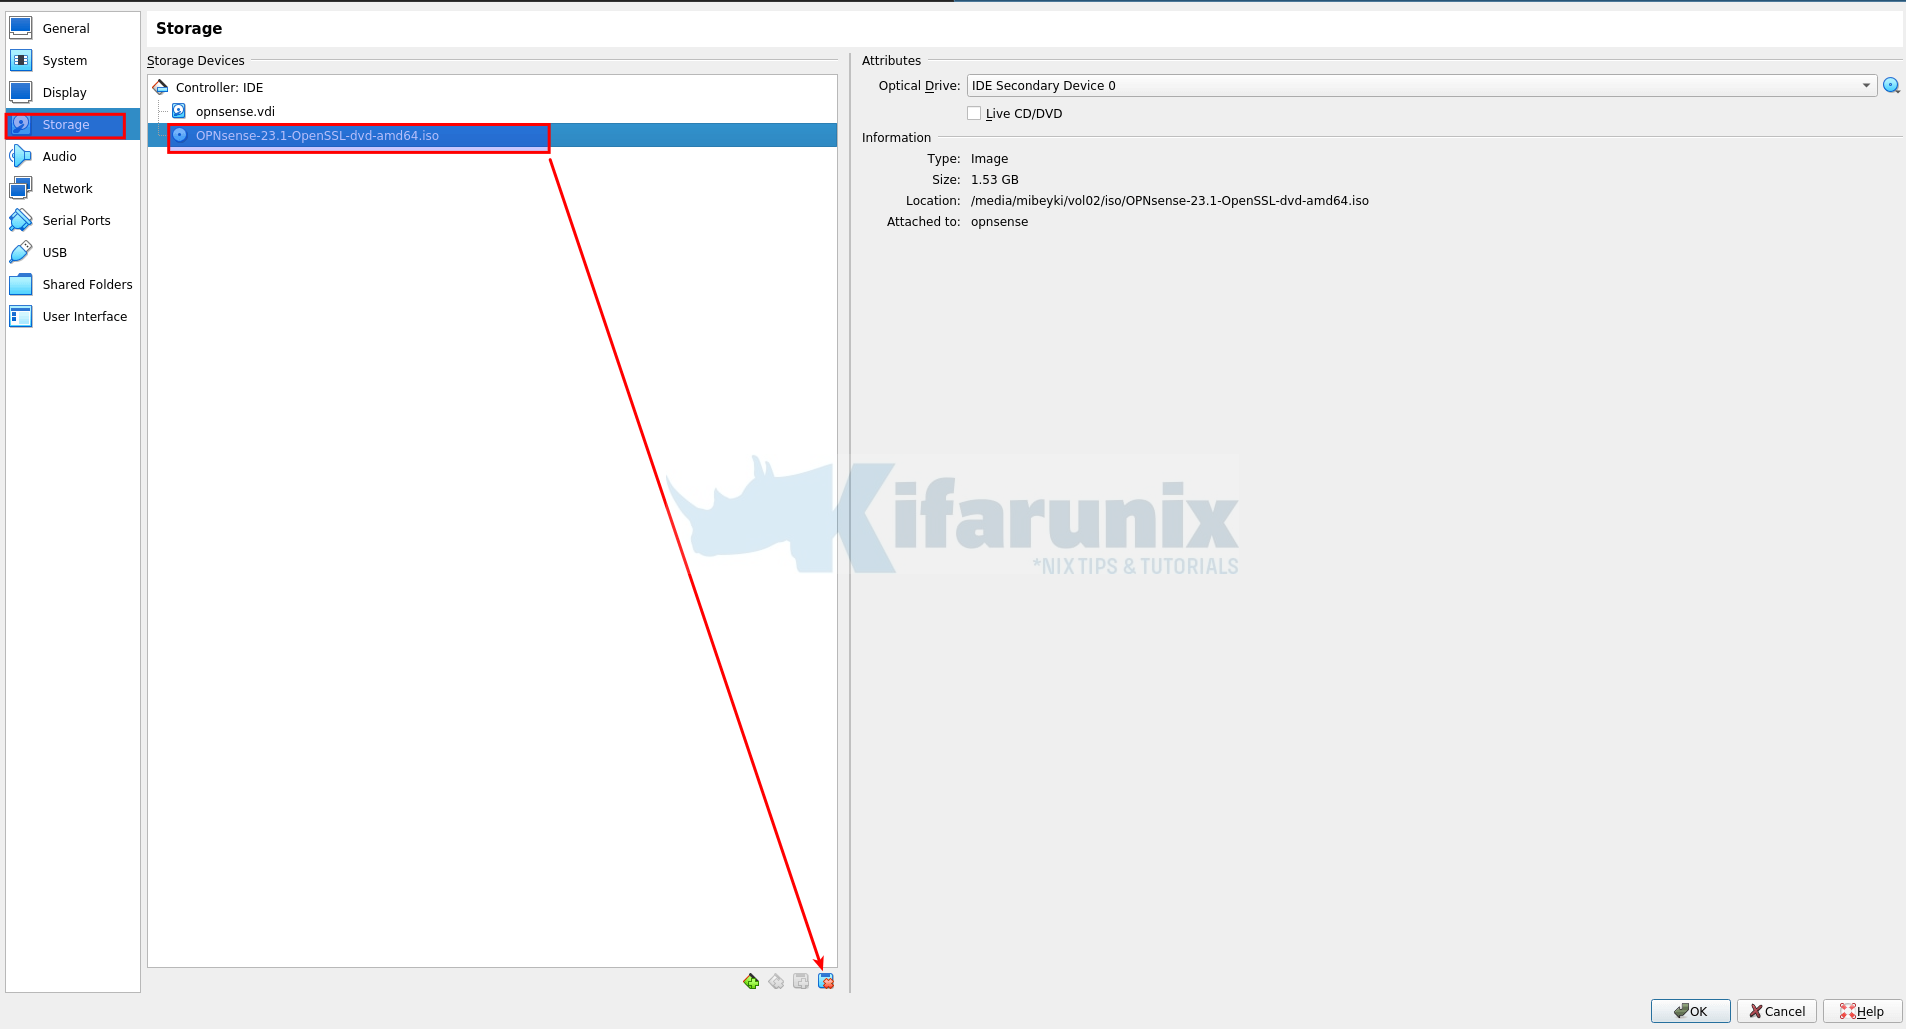
Poweroff the VM and detach the installation medium;
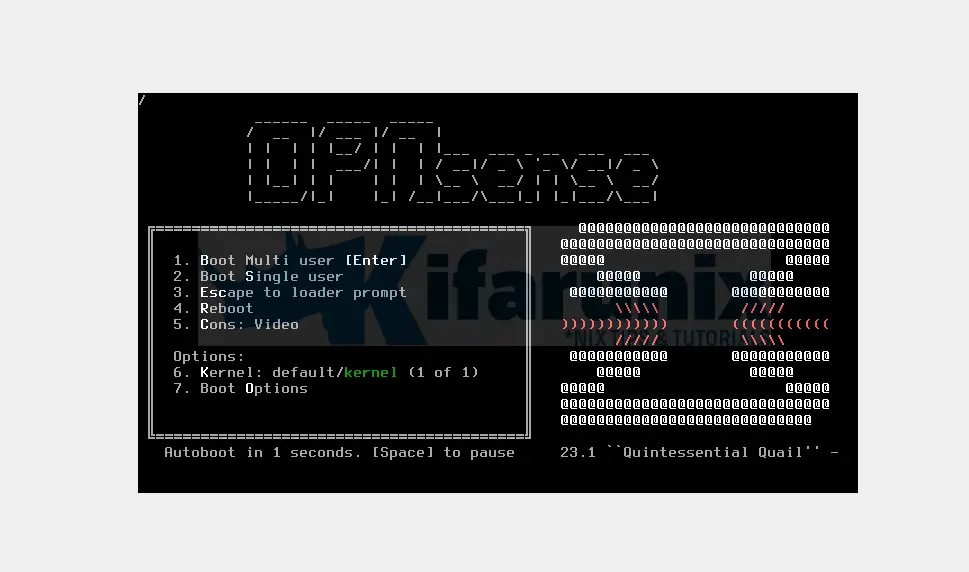
Start the OPNsense VM on VirtualBox
You can now start your OPNsense firewall for configuration.
Once the OPNsense boots, login as root with the default password opnsense.
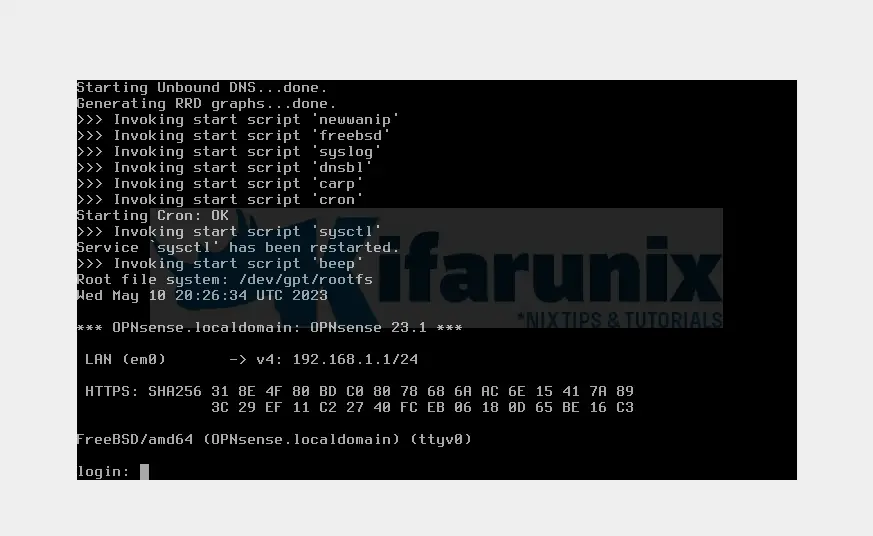
The screen below welcomes you after login
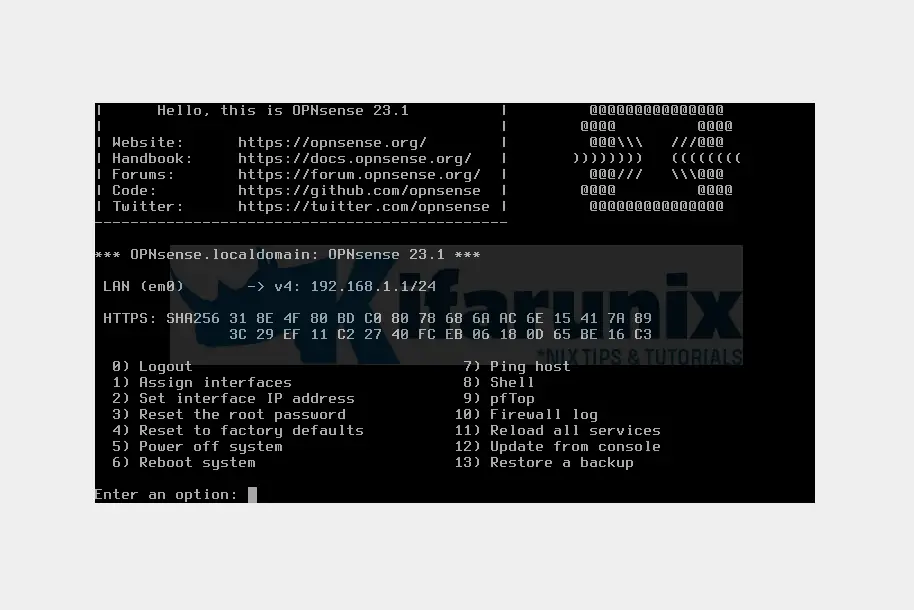
Once you have logged in, you can do various configurations like reset root password, add interfaces, set interface IP Addresses.

