Install Zabbix
Run the command below to install the Zabbix daemon binaries (zabbix_server, zabbix_agentd, zabbix_proxy) in /usr/local/sbin and the client binaries (zabbix_get, zabbix_sender) in /usr/local/bin.
make && make installInitial Zabbix configuration
Now that Zabbix backend installation is done, you need to make a few configuration changes before you can start Zabbix server.
Edit the Zabbix server configuration file /usr/local/etc/zabbix_server.conf and specify database connection settings; database name, user and password as defined above.
vim /usr/local/etc/zabbix_server.conf
...
### Option: ListenPort
# Listen port for trapper.
...
# Default:
ListenPort=10051
...
### Option: LogFile
...
# LogFile=/tmp/zabbix_server.log
LogFile=/var/log/zabbix/zabbix_server.log
...
### Option: DBHost
#       Database host name.
...
DBHost=localhost

### Option: DBName
...
DBName=zabbix
...
### Option: DBUser
...
DBUser=zabbix
...
### Option: DBPassword
...
DBPassword=STRONGP@SSWORD
...
### Option: PidFile
...
# PidFile=/tmp/zabbix_server.pid
PidFile=/var/run/zabbix/zabbix_server.pid
Create the custom log directory and set the proper ownership
mkdir /var/log/zabbix
mkdir /var/run/zabbix/
chown zabbix.zabbix /var/log/zabbix
chown zabbix.zabbix /var/run/zabbix
Start Zabbix Server
Create a systemd service for Zabbix server.
vim /etc/systemd/system/zabbix-server.service
[Unit]
Description=Zabbix Server
After=syslog.target network.target mariadb.service

[Service]
Type=oneshot
User=zabbix
ExecStart=/usr/local/sbin/zabbix_server
ExecReload=/usr/local/sbin/zabbix_server -R config_cache_reload
RemainAfterExit=yes
PIDFile=/var/run/zabbix/zabbix_server.pid

[Install]
WantedBy=multi-user.target
Create a systemd service for Zabbix agent
vim /etc/systemd/system/zabbix-agent.service
[Unit]
Description=Zabbix Agent
After=syslog.target network.target

[Service]
Type=oneshot
User=zabbix
ExecStart=/usr/local/sbin/zabbix_agentd
RemainAfterExit=yes
PIDFile=/var/run/zabbix/zabbix_agent.pid

[Install]
WantedBy=multi-user.target
Reload systemd configuration
systemctl daemon-reloadStart and enable Zabbix server,agent deamon to run on system start.
systemctl start zabbix-server
systemctl enable zabbix-server
systemctl start zabbix-agent
systemctl enable zabbix-agent
The Zabbix backend configuration is done. Proceed to configure Zabbix frontend.
Zabbix Frontend Configuration
Zabbix frontend is written in PHP. Therefore, in order to do the installations, you need to copy the PHP files from ~/zabbix-4.0.1/frontends/php to the Web root directory.
Create Zabbix Web root directory
mkdir /var/www/html/zabbix
rsync -avP  ~/zabbix-4.0.1/frontends/php/ /var/www/html/zabbix/
chown -R apache:apache /var/www/html/zabbix/
Configure PHP for Zabbix frontend
Edit the /etc/php.ini configuration file and make the following adjustments
max_execution_time 300
memory_limit 128M
post_max_size 16M
upload_max_filesize 5M
max_input_time 300
max_input_vars 10000
Open the Zabbix ports for passive and active checks, 10050 and 10051 respectively, on firewall.
firewall-cmd --add-port={10051,10050}/tcp --permanent
firewall-cmd --reload
Restart Apache
systemctl restart httpdZabbix frontend initial Setup
You have completed the Zabbix server backend configuration. Login to Zabbix frontend to finalize the configurations. You can now access your Zabbix front using the URL in the format below;
http://<server_ip_or_name>/zabbix
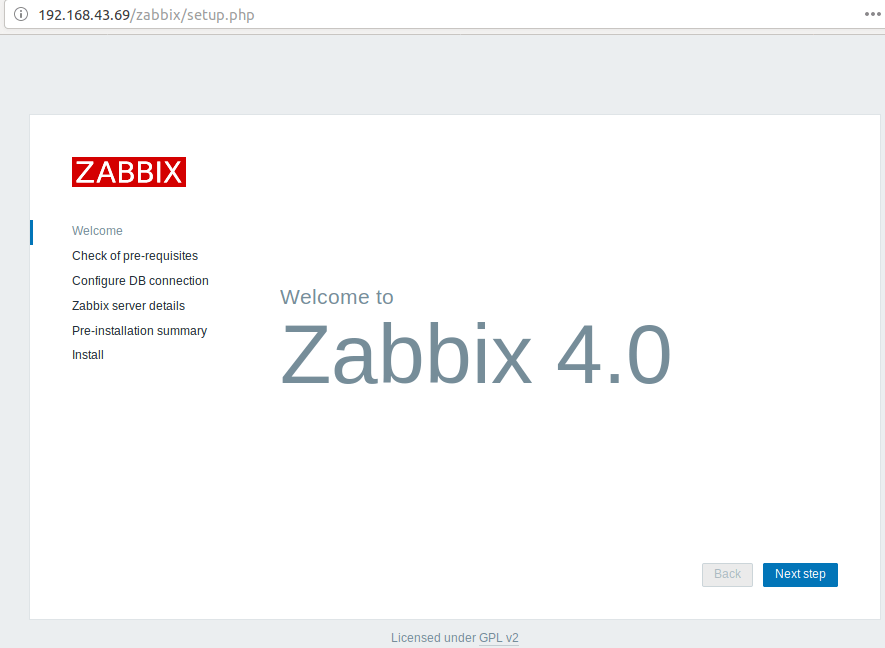
This takes you to Zabbix welcome page.
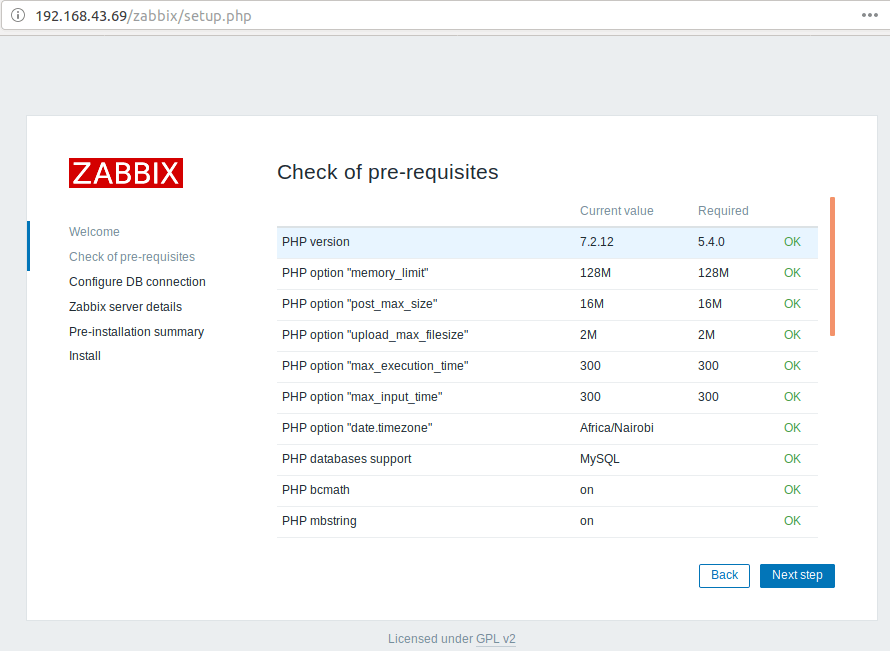
Click Next to check on the PHP setup pre-requisites.
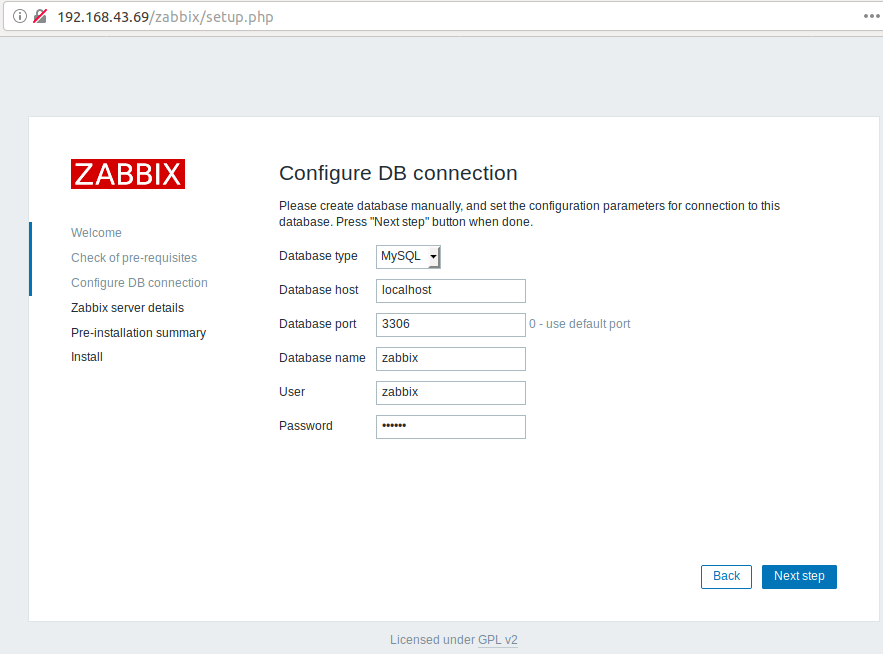
If everything is fine, click next to configure Database connections. Enter the database password you specified while creating database user above.
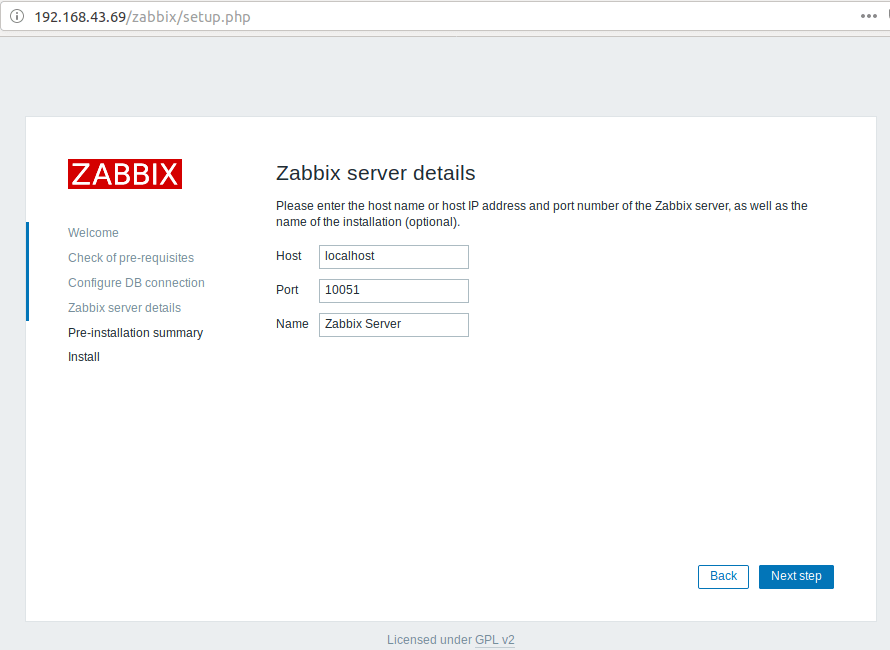
Click Next to Set the server details.
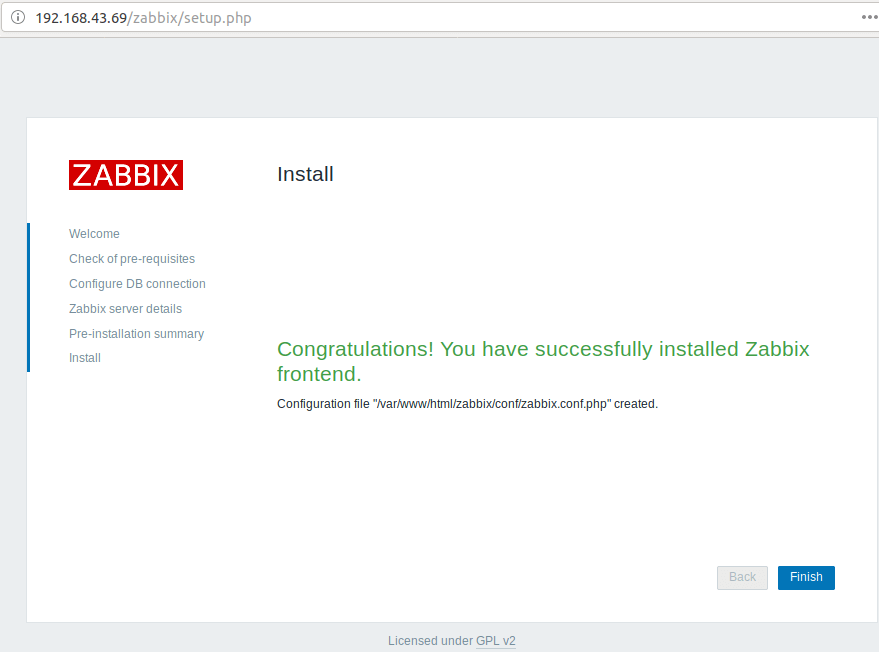
Click next to go through the configuration summary and and then next to set up Zabbix frontend. You have successfully setup Zabbix frontend.
Click Finish to proceed to login to your new Zabbix server.
The default login credentials are;
Username: Admin
Password: zabbix
In order to monitor Zabbix Server itself, enable it for monitoring by navigating to Configuration > Hosts. Click on the Zabbix server status and you will be prompted whether to enable it. Click Ok.

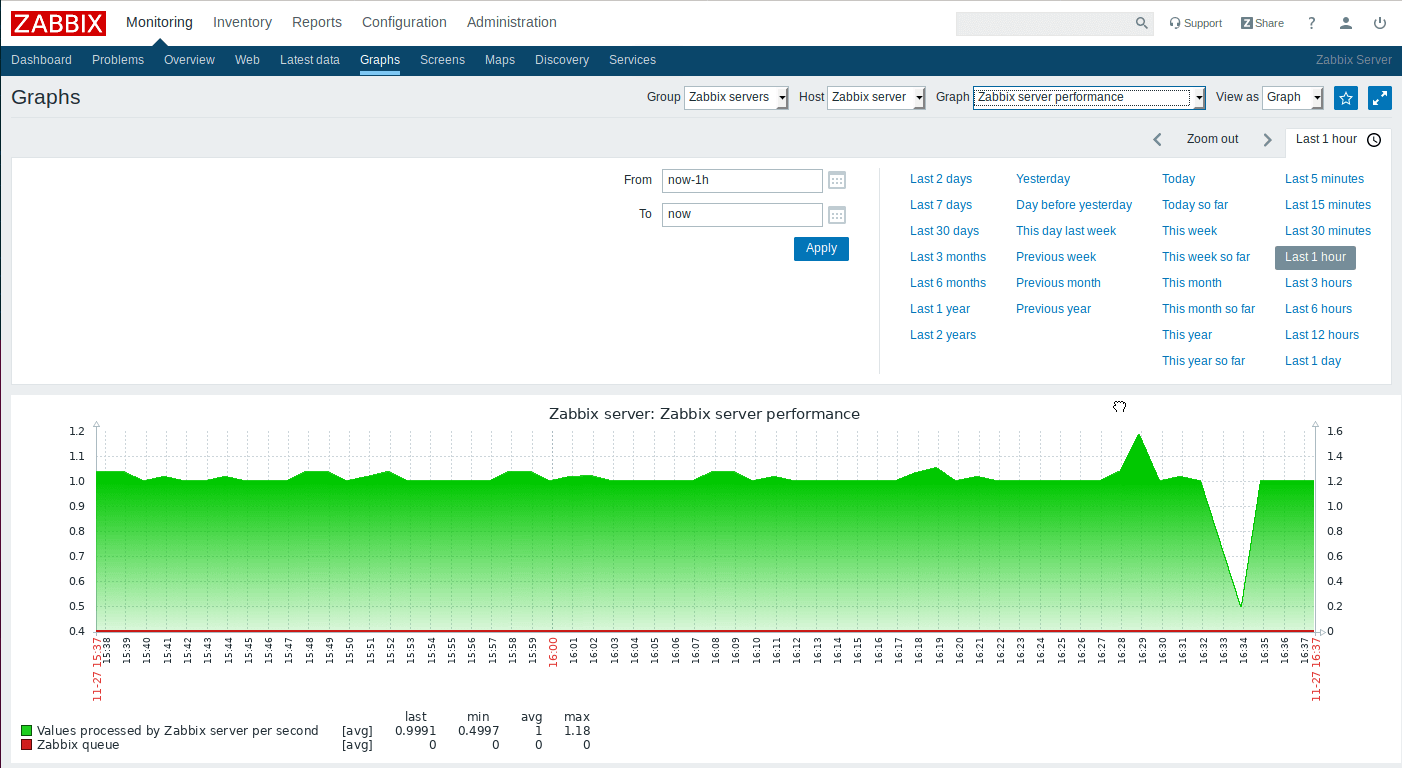
To see more details about Zabbix server performance, click Screens tab.
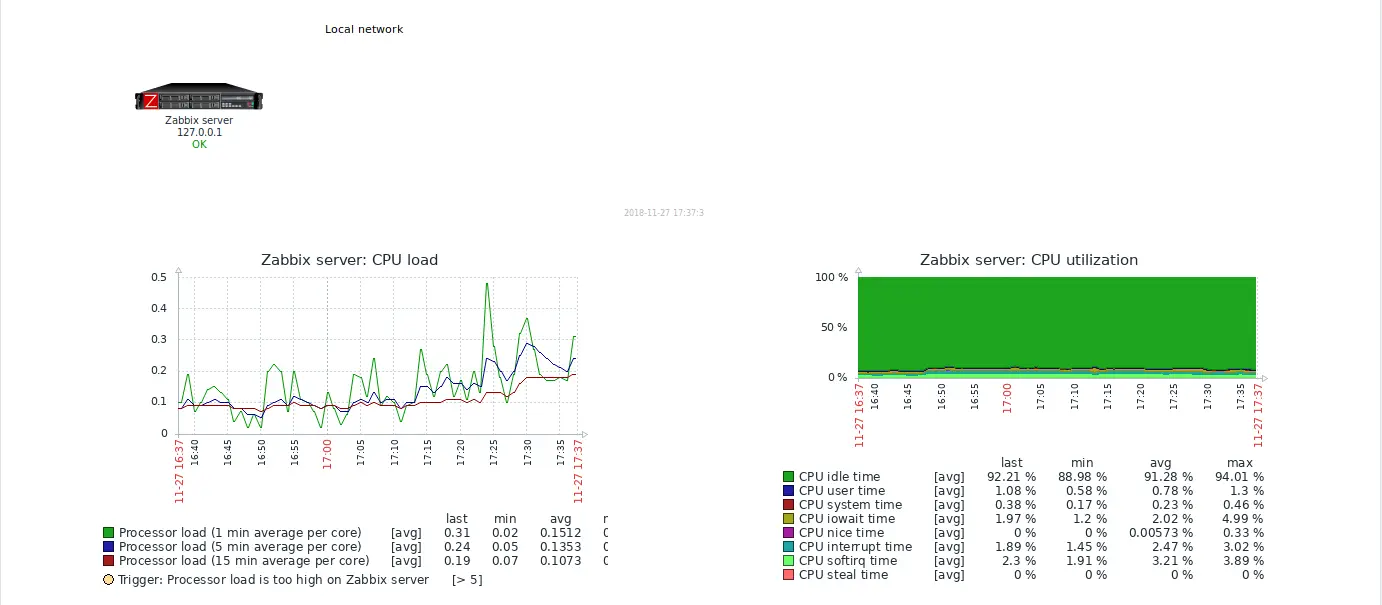
That is all it takes to install and configure Zabbix from sources. In our next tutorial, we will learn how to monitor hosts with Zabbix. We hope this was informative. Stay connected.


getting this error
The frontend does not match Zabbix database. Current database version (mandatory/optional): 4020000/4020000. Required mandatory version: 3000000. Contact your system administrator.
Hello Watens,
Are you upgrading your zabbix? Kindly try the solution suggested here and revert.
Frontend’s version must have same with zabbix-server
you have to upgrade your frontend
Thank you very much. Exact, manual, applied and to version 5.